Lot of you are looking for the PC-1500 male connector, isn’t it ?
It’s rare, near impossible to find.
A have a few ones but reserved for my PC-1560 project.
But i can explain you how i did as a workaround in the past…
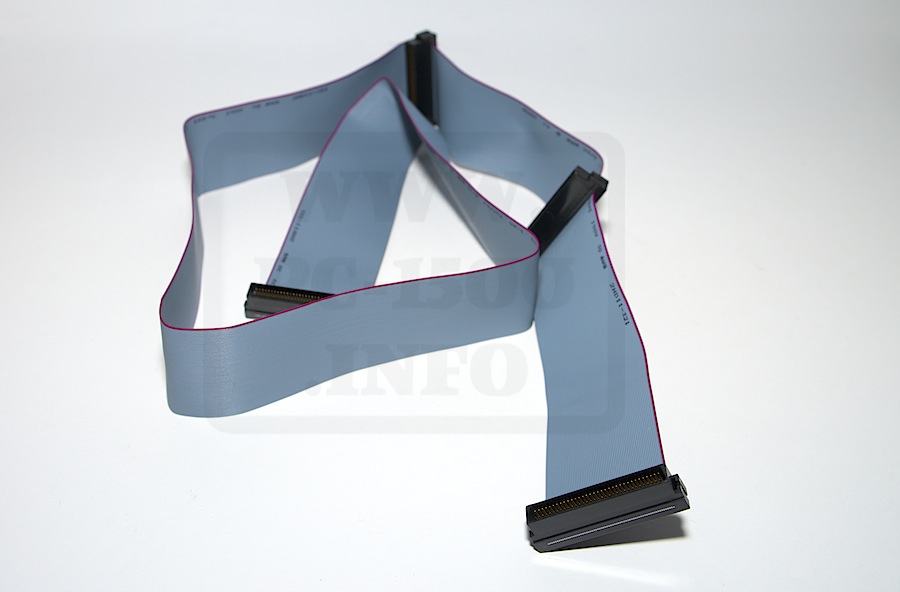
1 – Find the SCSI 68 male connector
Buy a SCSI 68 cable with male connectors for something like $10.
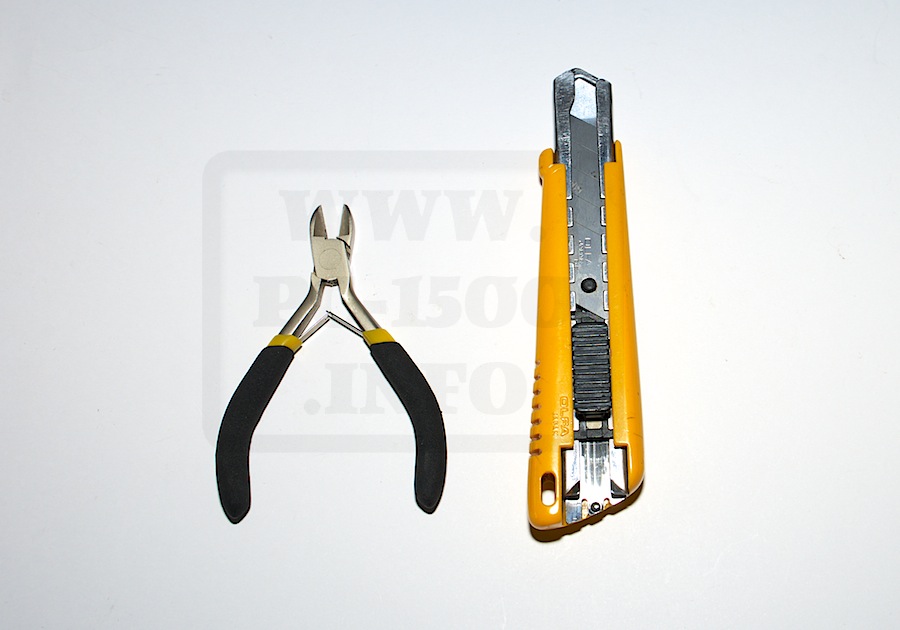
And take some tools !
2 – Cut a connector with a part of the cable attached.
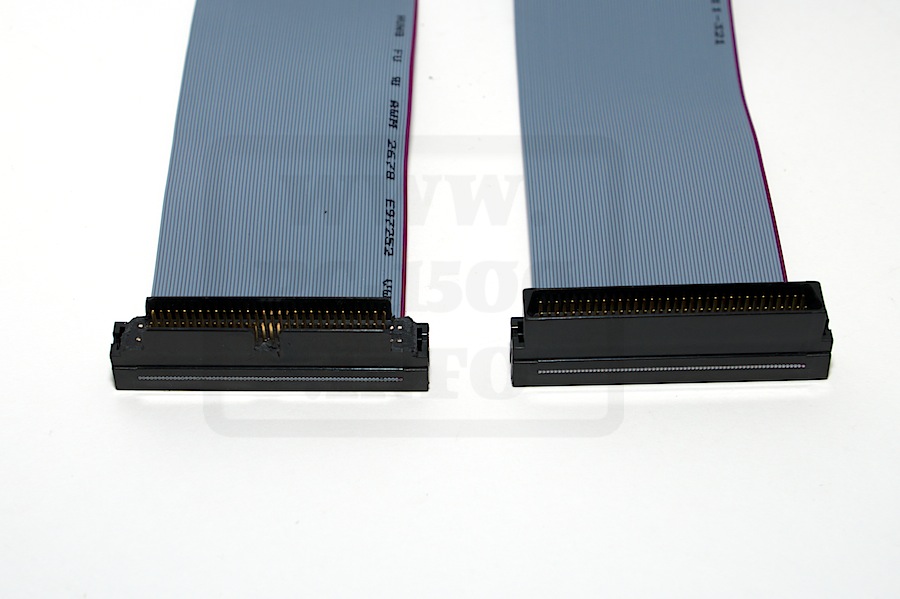
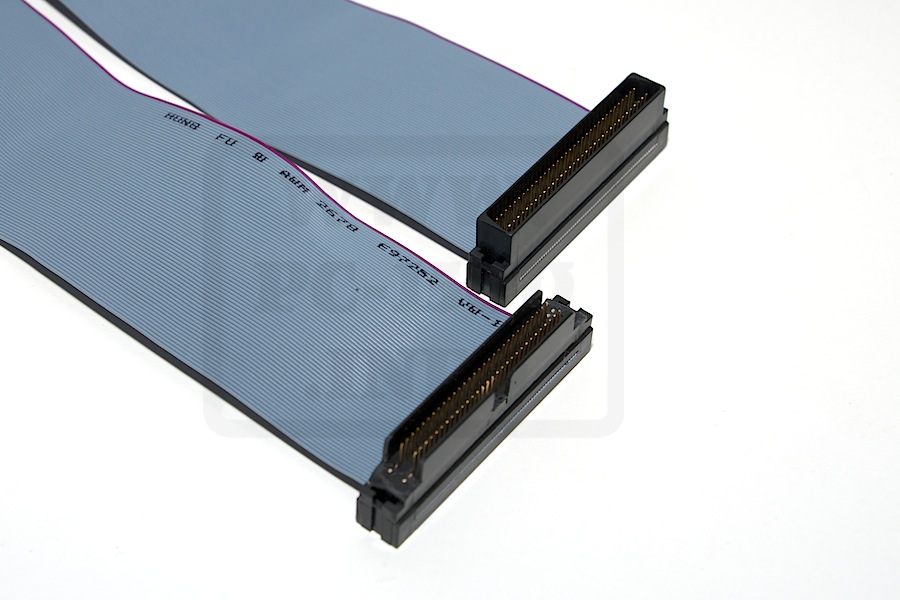
Please look carefully on the picture for the connector and the red wire positions and then at the border of next connector. This will help to make some more.
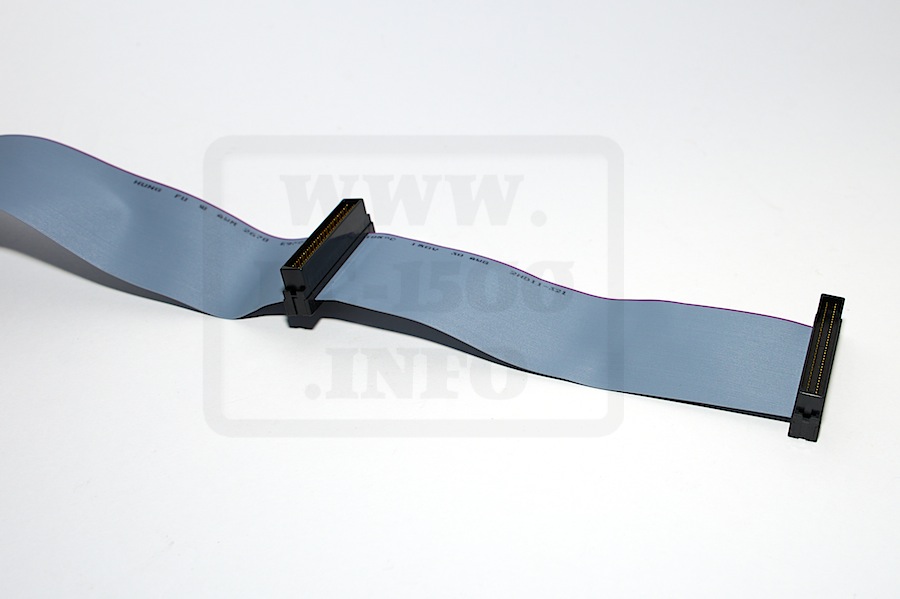
3 – Now we have a nice SCSI68 connector with some centimeters of ribbon attached.
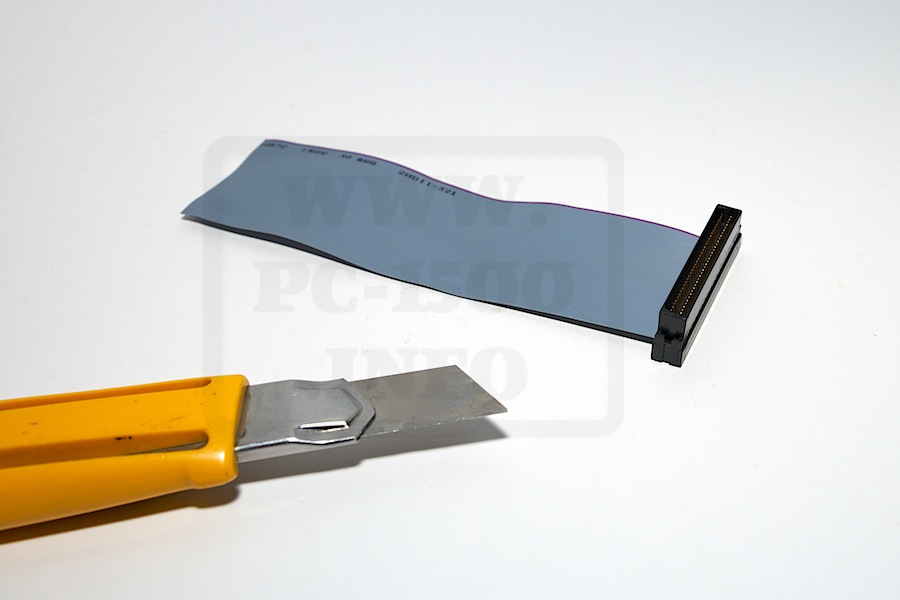
4 – You have to cut some plastic parts of the connector and some pins.
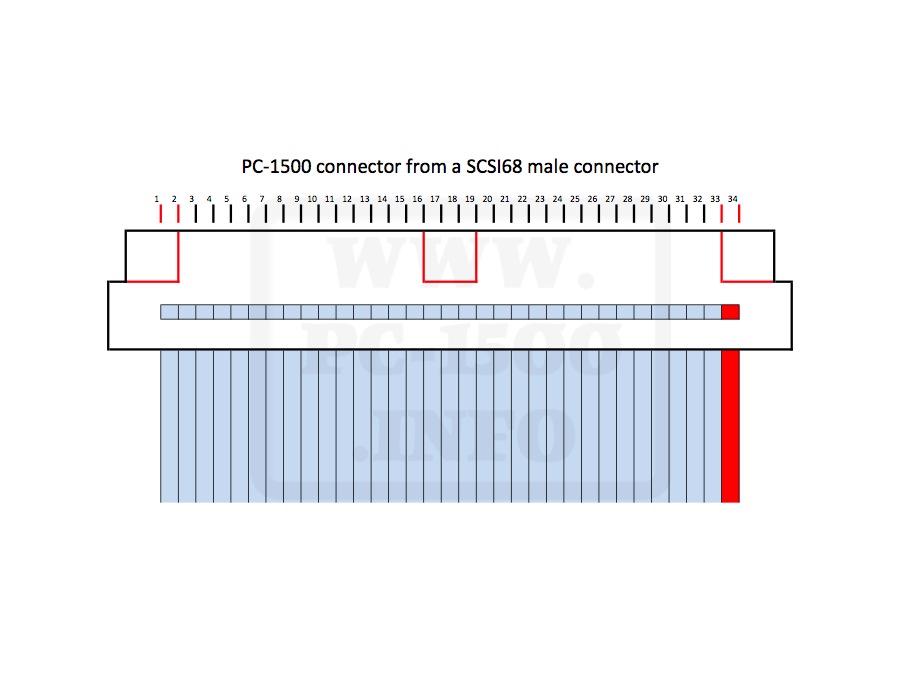
The PC-1500 connector is 60 pins wide. The SCSI is 68… we have to remove 4 at each end.
With your cutter begin by cutting the plastic at the connector’s border, like marked in red in the scheme. Do it slowly, take time to be precise.
Here is the picture of SCSI68 connector before and after, and the scheme indicating where to cut.
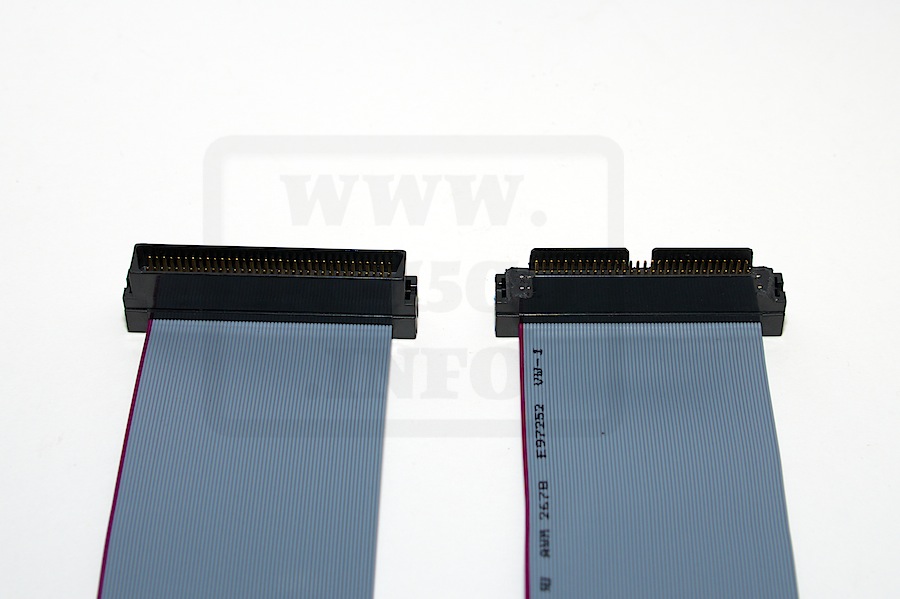
Is it ok ?
You have to remove the rect part in the center.
Use the picture to see where to cut, position it with the red wire. It’s important for having good signal names on the wires.
Cut by small parts, begining by a little “V”… and a “U”…
And… cut the 4 pins at both borders.
Are you OK ? Does it looks like mine ? Better ??? 😉
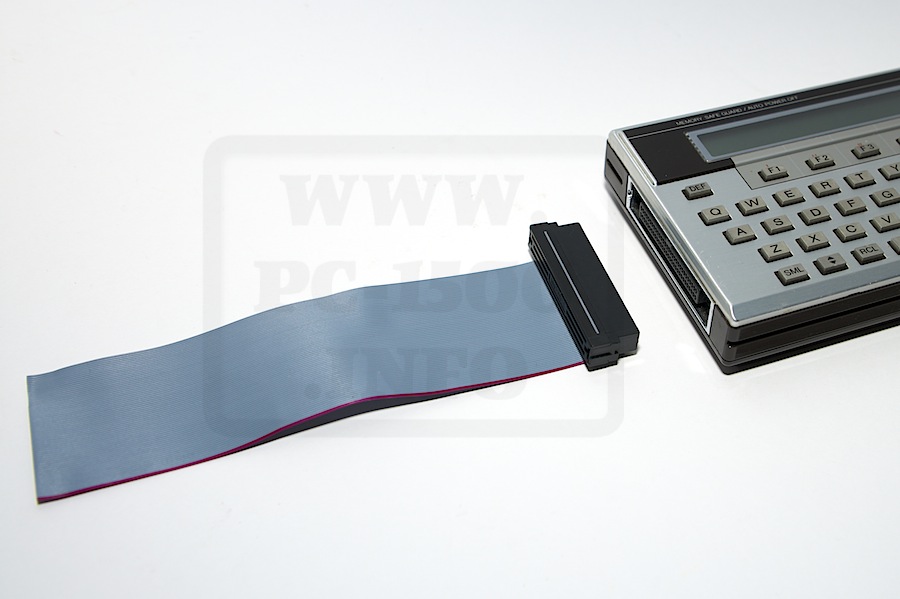
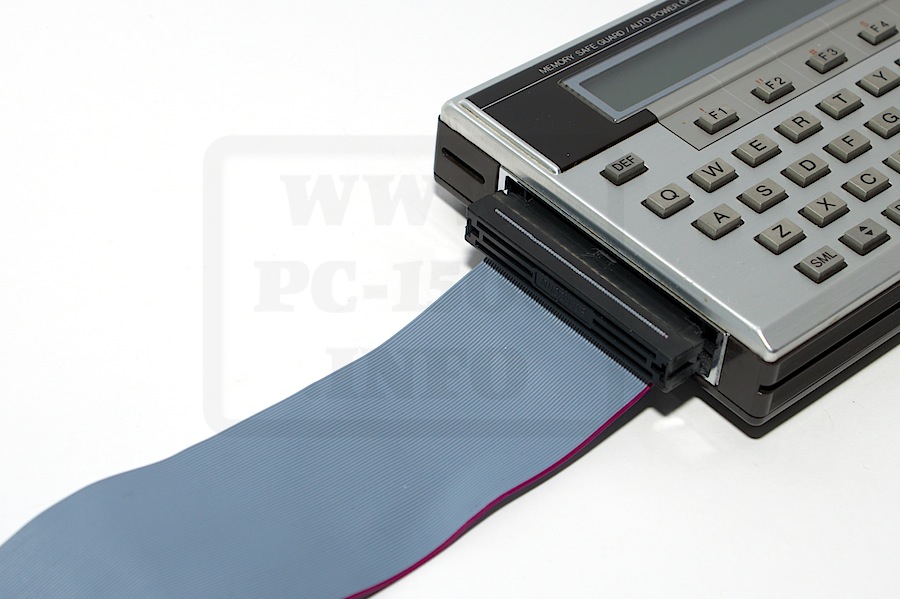
5 – Test it on your PC-1500
But please, remove batteries before doing that 😉
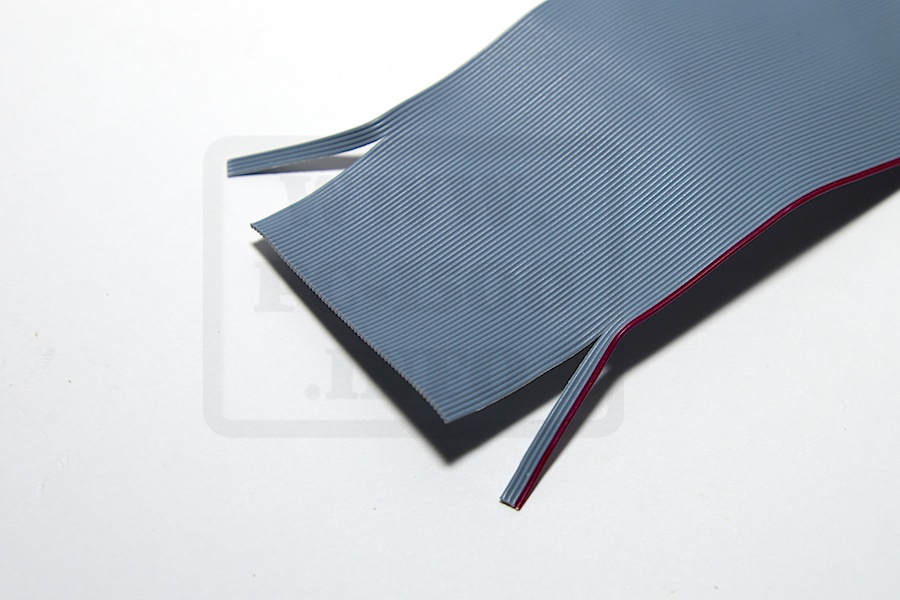
6 – Separate unused wires
As we saw previously, we have 8 unused wires, 4 each border.
Cut it a little bit to separate on one centimeter.
These wires will be useful to be sold on your electronic board and prevent your cable to be accidentally ripped.
7 – Now you have a really nice PC-1500 male connector and enough cable to cut some other ones.
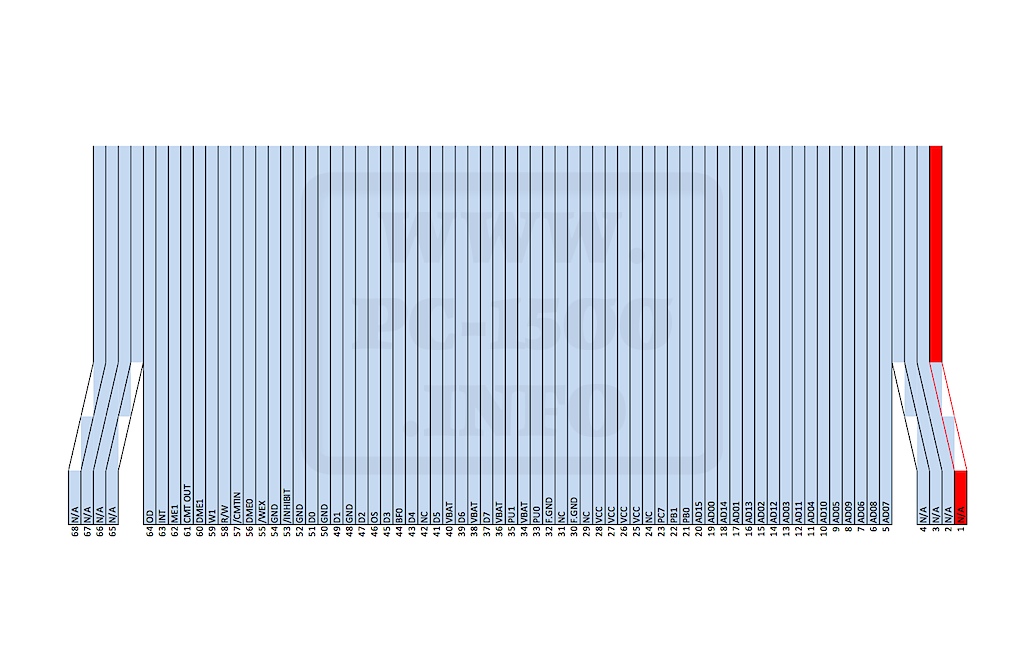
And here is the wire assignment :
Do you have comments ?